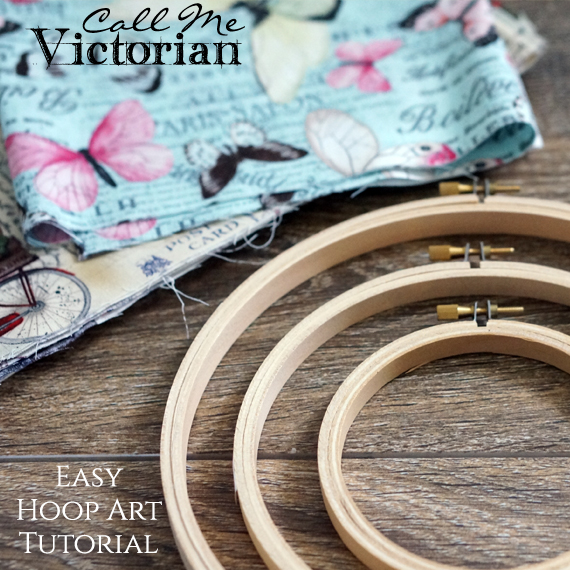
In this easy hoop art tutorial, you will learn how to make DIY fabric wall art using a craft hoop and pattern fabrics. I love the colors and vintage inspired patterns of many available fabrics. Hoop art is often used to create wall hangings, ornaments, and other decorative items. I purchased all the supplies for this tutorial very inexpensively at Jo-Ann Fabric, including the hoop, glue dots and designer fabric shown.
Hoop Art Tutorial
Wondering how to make wall art for your home to fill a blank wall, the below tutorial will show you how:

Step 1
Choose a hoop size and the fabric that you would like to use. Hoops are available in a variety of sizes, and the 4″ and 6″ versions can easily be found at your local craft store. Fabrics with large illustrations work well for this project because the hoop acts as a frame for the individual images found in the pattern.
Step 2
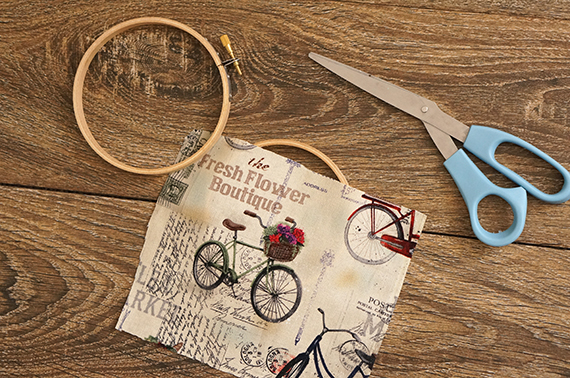
Line up you hoop around the portion of the fabric you would like to use. Use the larger, outer hoop to frame out your image and then put the smaller hoop underneath and inside.
Step 3
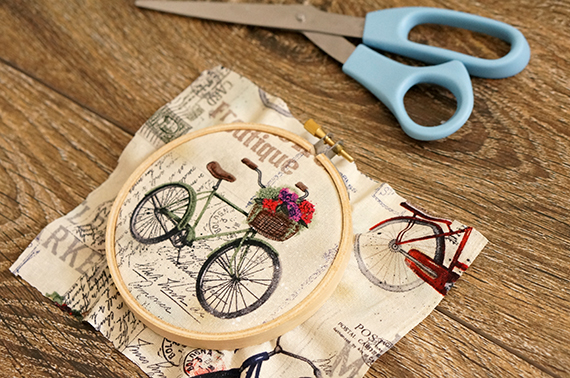
The hoop is used to stretch the fabric tight, making it easier to create detailed embroidery designs. Tighten your hoop screw and center your fabric until it is firmly where you want it to stay.
Step 4
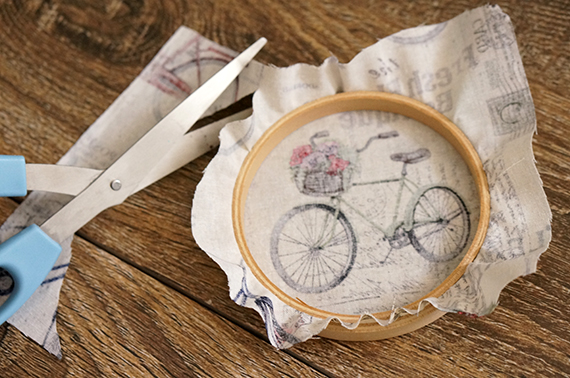
Trim off the excess fabric around the hoop. Leave about an inch of fabric to fold over the back of the hoop.
Step 5
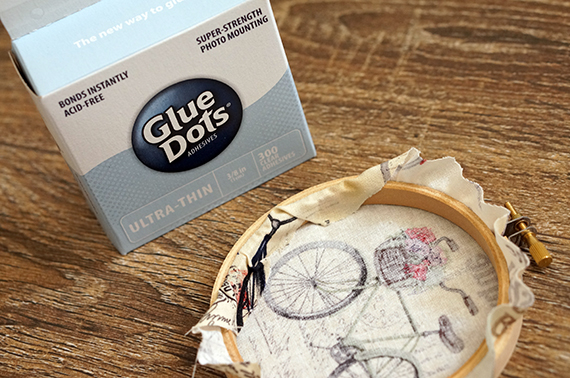
Use glue or glue dots to adhere the fabric to the inside back of the hoop so that the edges to not peek out from behind when it is hanging on your wall.
Step 6
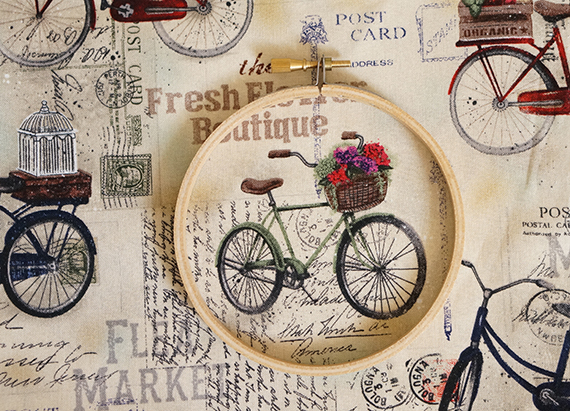
Hang your new fabric wall art and enjoy! Hang on your wall with a removable adhesive hook or a nail at the top where the natural hole is made where you tighten the hoop.
If you want a more personalized hoop art, you can also add touches like embroidery and applique.