I’ve seen the many tutorials online for different styles of metallic and spray painted pumpkins. My friends and I decided to grab some dollar store plastic pumpkins and different styles of spray paint and give it a go. We tried one of the tutorials that was trying to duplicate the silver Antique Mercury Glass Pumpkins sold at Pottery Barn. And we also wanted to achieve the look of oil rubbed bronze which my friend has a lot of in her home. Here is a tutorial and photos of what we came up with.
List of paints used:
- Rust-oleum Hammered Dark Bronze (7218)
- Rust-oleum Hammered Silver (7213)
- Krylon Looking Glass Mirror-Like Paint
- Valspar Clear Gloss Premium Enamel (65058)
- Apple Barrel Gloss Acrylic Paint Dark Grey (20366)
Other things we used:
- Spray bottle with 50/50 water/vinegar mix
- Sponge paint brush
- Cardboard or something to put under your pumpkins while spraying.
We were trying to do a bunch of different pumpkin painting ideas so we had one tester that we kept painting over and over. If you’ve never used spray paint before, don’t worry, you actually don’t want even coats of this paint, the more you put on the better and you can have no spray paint skills what-so-ever! Make sure you go outside or do this in a well ventilated area, also put down cardboard or something so the paint doesn’t go everywhere!
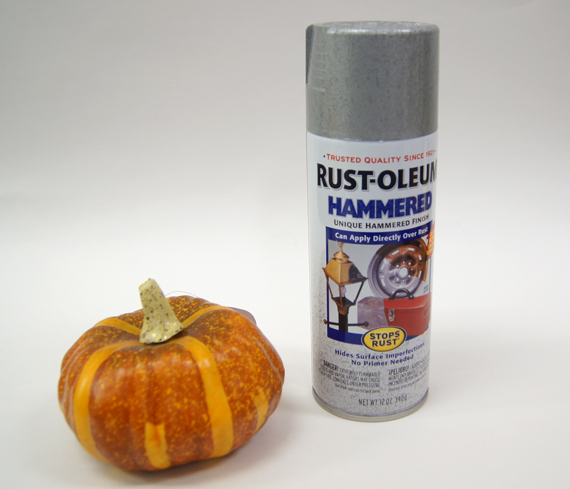
Here is a look at all the Spray Paint:
We started out with the paint in the first photo, and then went out and got the silver hammered look paint since we liked the results of the dark bronze paint best.
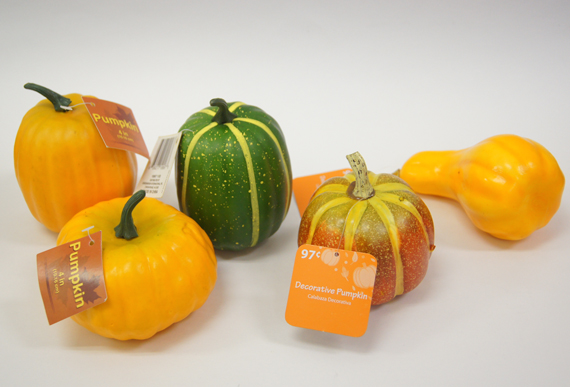
Here are some of the plastic pumpkins from the dollar store and wal-mart that we started out with:
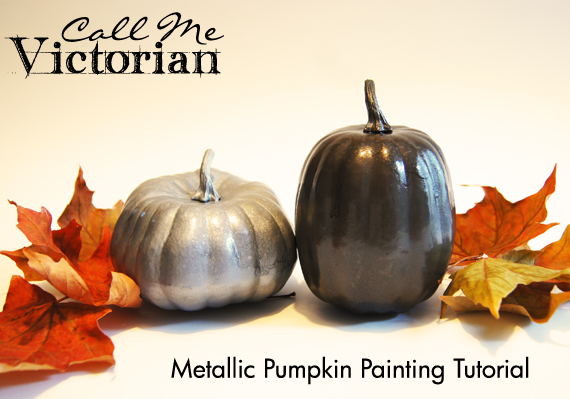
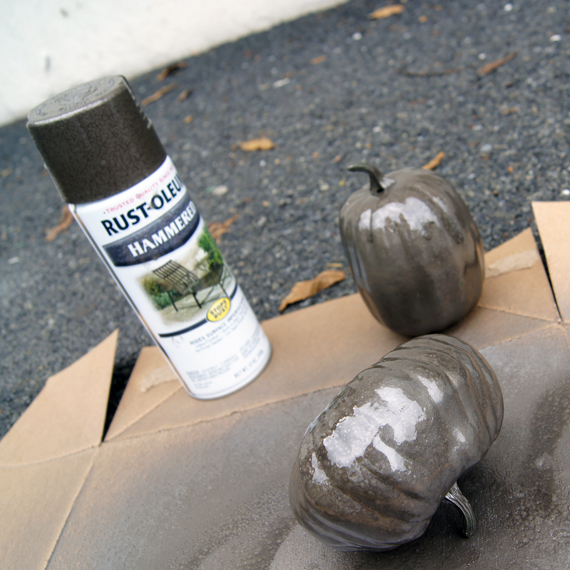
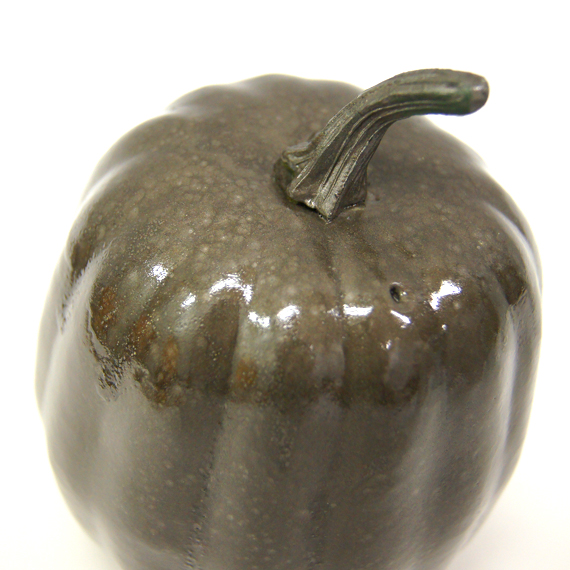
We all unanimously agreed we liked the look of the pumpkins painted with the Rust-oleum Hammered Dark Bronze the best. They get a nice textured surface, but also maintain a bit of shine and have a true metallic appearance:
During the painting – You’ll want to do the bottom first and wait for it to dry, then flip your pumpkin over and paint the rest.
Here is a closer look at the finished surface of the pumpkin when it is dry:
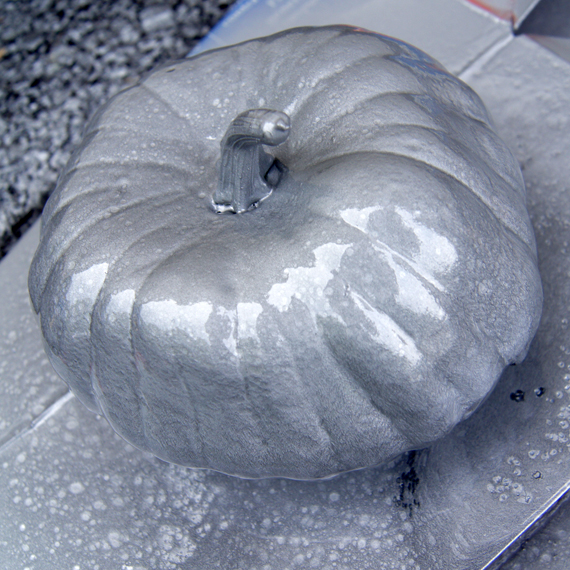
The next best one is the silver version of the same paint, the Rust-oleum Hammered Silver, here is a look at that one during the painting process. You can see it dry in the intro photo:
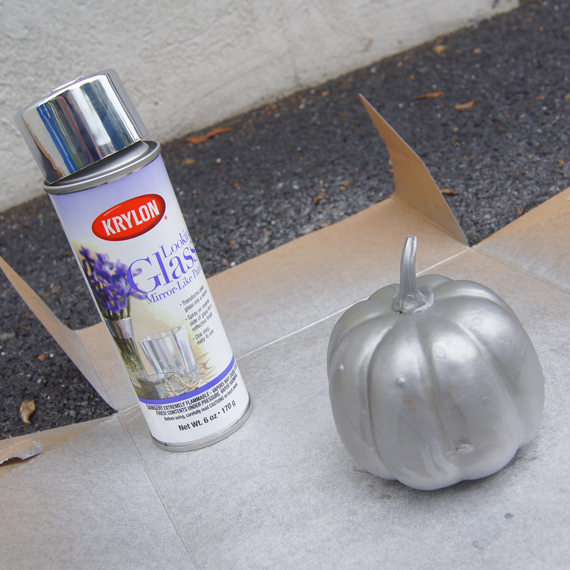
Here are some of the “not so good” results. We tried the thing where you spray the pumpkin with 50/50 water vinegar mix and spray over it then try to pop the bubbles to give it a distressed look. But it was not so successful. This was painted with the looking glass spray which does not get shiny on plastic.
Here is what the Krylon Looking Glass Mirror-Like Paint looks like by itself on plastic. I think I would just buy a regular metallic silver paint next time which might actually make it look more shiny. I was worried because the spray can says it is to be used on glass to get the mirror like effect:
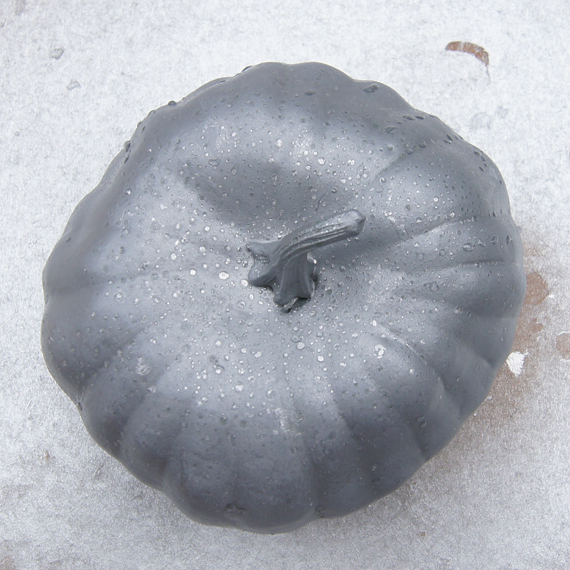
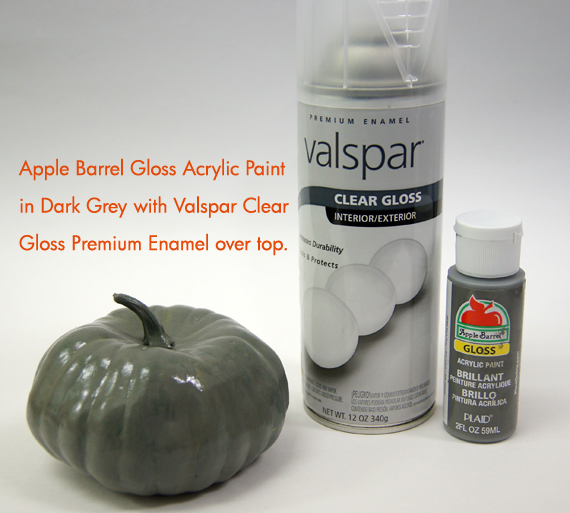
This is the last thing we tried, which was to use the Apple Barrel Gloss Acrylic Paint Dark Grey and coat it with the Valspar Clear Gloss Premium Enamel to give it extra shine. The gray paint was applied with a foam brush and took 3 coats, but it could have actually used another! Again, not very successful.
There you go! That’s a look at some pictures of trying to achieve a faux metallic finish out of dollar store plastic pumpkins.

very cool ideas and thanks for testing the different products to find what look you might get
Very interesting. I’m going to give it a try.
Kathlene